How to add new wifi network(s)
Adding a wifi network is pretty easy once your initial loop has been setup. Simply enter edit-wifi (which is a shortcut command for nano /etc/wpa_supplicant/wpa_supplicant.conf.
First check that wpa_supplicant.conf doesn’t contain update_config=1
If it does, delete this from the file as it will interfere with switching between wifi networks.
You can then add wifi networks using the following template:
network={
    ssid="my network"
    psk="my wifi password"
}
If you want to add open networks to your list, then add:
network={
        key_mgmt=NONE
        priority=-999
}
Newer versions of the setup script enact the editor vi instead of nano. The important commands to know in vi are i to turn on insert mode on and esc to turn it off. Once insert mode is on, edit your file and when you are done hit esc. To exit vi you have a few choices: :q! will exit and not save any changes, in case you mess up badly. :w will write your changes and keep you in vi. Once you are satisfied with your edits, :wq will write your changes and quit vi.
Older version use nano, which is more intuitive, but doesn’t work well over USB serial console connections, unless your window is exactly 80 characters wide. If you’re using nano, you can save the edits to the file using control-x, y, and enter. If you mess up, you can do control-x and n.
It is a good idea to add your phone’s personal hotspot to the list of wifi networks at least as a backup, even if using Bluetooth tethering. By toggling your hotspot off-on, it will generate a wifi-tether signal for approximately 90 seconds, so that your rig can find it and connect. Since wifi-tethers are similar to a regular wifi connection, your rig will not automatically hop off this connection when it gets to your home wifi network. You will need to remember to turn off your wifi-tether if you want your rig to connect back to your home wifi network. By contrast, a hotspot connection done by BT-tether does not require any toggling and your rig will connect/disconnect as it leaves/comes to a known wifi network in your wp_supplicant list.
Note for iPhone users: It is recommended that you update the name of your iPhone to remove any apostrophes. Apple’s default is to name iPhones with an apostrophe such as “Katie’s iPhone”. This can cause some problems for wifi connections sometimes. You can rename your iPhone by going into your iPhone’s Settings, General, About, and then Name.
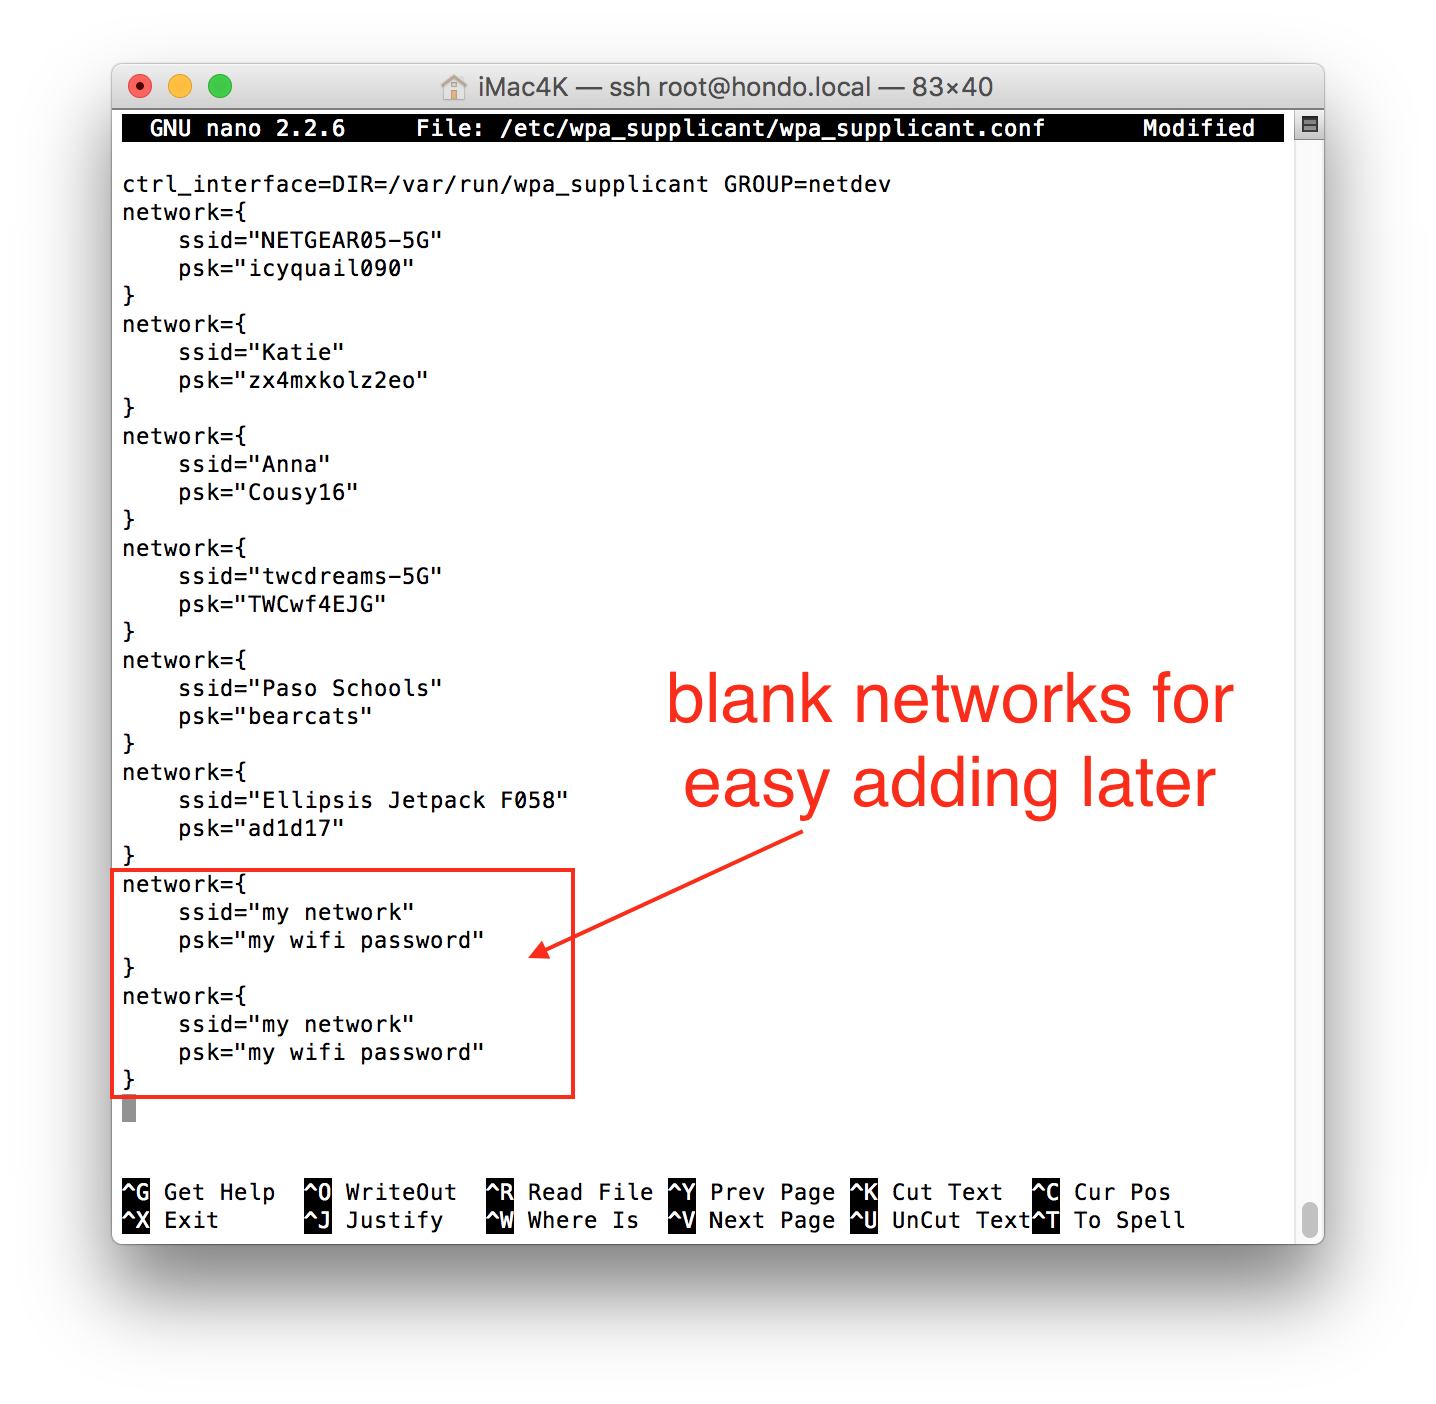
Helpful tip: Add a couple “blank” networks to the file (see screenshot below), so that if you ever need to add new wifi networks while on-the-road, the process will be much faster and easier. You’ll only need to edit the network name and password then...instead of needing to type in the whole string of the template.
Some wifi networks may require you to enter a login name and password at an initial screen before allowing access (such as many school wifi networks). Some users have success in using the following wpa network settings for those types of networks:
network={
   scan_ssid=1
   ssid="network name"
   password="wifi password"
   identity="wifi username"
   key_mgmt=WPA-EAP
   pairwise=CCMP TKIP
   group=CCMP TKIP WEP104 WEP40
   eap=TTLS PEAP TLS
   priority=1
}
Other wifi networks require you to accept a terms and conditions (or enter a room number and last name) prior to allowing access. For example, Starbucks coffee shops and many hotels. These networks are termed “captive” networks and connecting your rig to captive networks is currently not an option for a standard rig setup. A device like Hootoo mobile router is an excellent tool in these situations. A Hootoo mobile router will login to the hotel/Starbucks network via an app on your phone, and then the Hootoo “bridge” (non-technical word) the hotel’s network for your rig to be able to connect to once you add the network to the rig.
If you use priority (priority=1) to select among more than one network at a time, just remember that HIGHER numbers are HIGHER priority.